Directly accessible from our message editors, our file manager allows you to organize the search, access, and storage of all your visual elements (product visuals, product visuals with settings, icons, graphic elements of your store).
Here are the 4 main features offered by our file manager:
Upload new images
Create folders to organize all your images
Access royalty-free image & icon libraries
Generate new images with our Generative AI
The file manager is directly accessible within our template editors.
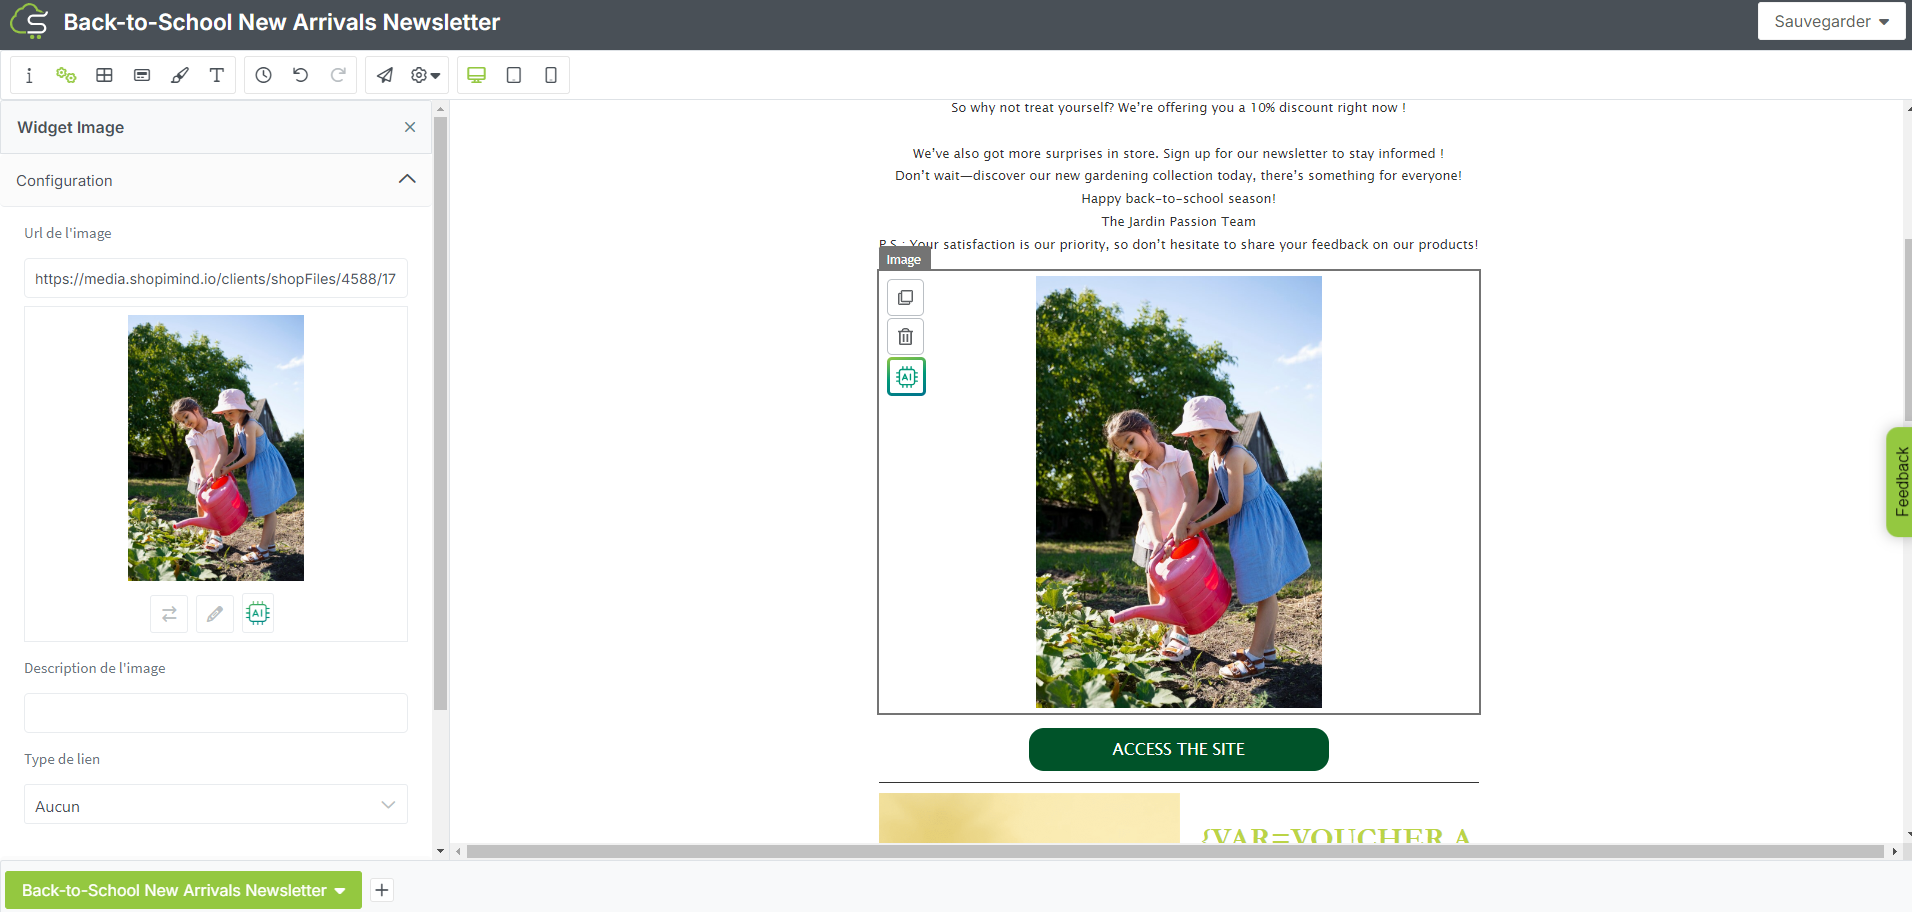
You can access it by clicking on any image, icon, or logo present in one of your messages.
To do this, simply click on your image, then click on the icon symbolizing 2 reversed arrows, allowing you to replace the selected image.
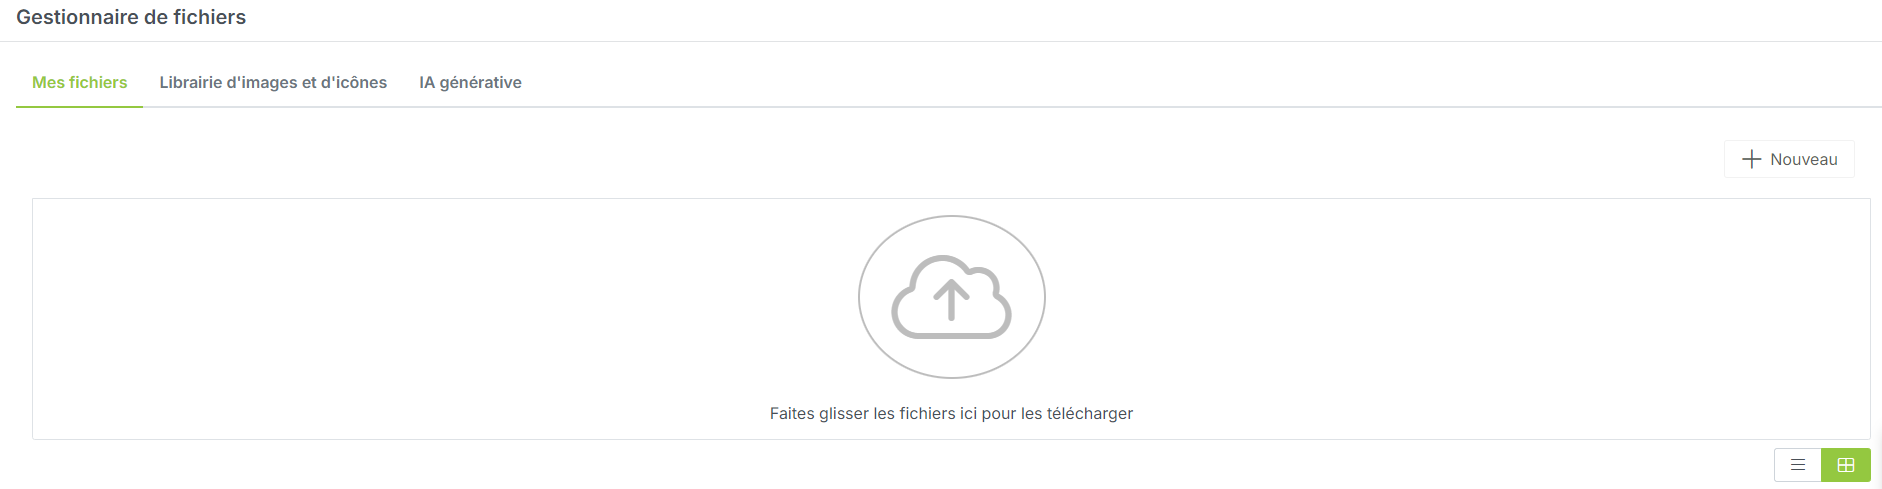
After clicking on these 2 arrows, you have access to the ShopiMind File Manager.
Several options are available to you to replace the selected image in your template:
upload a new image
find an image already present in one of your image folders
download an image from our royalty-free library
generate a new image using our Generative AI.
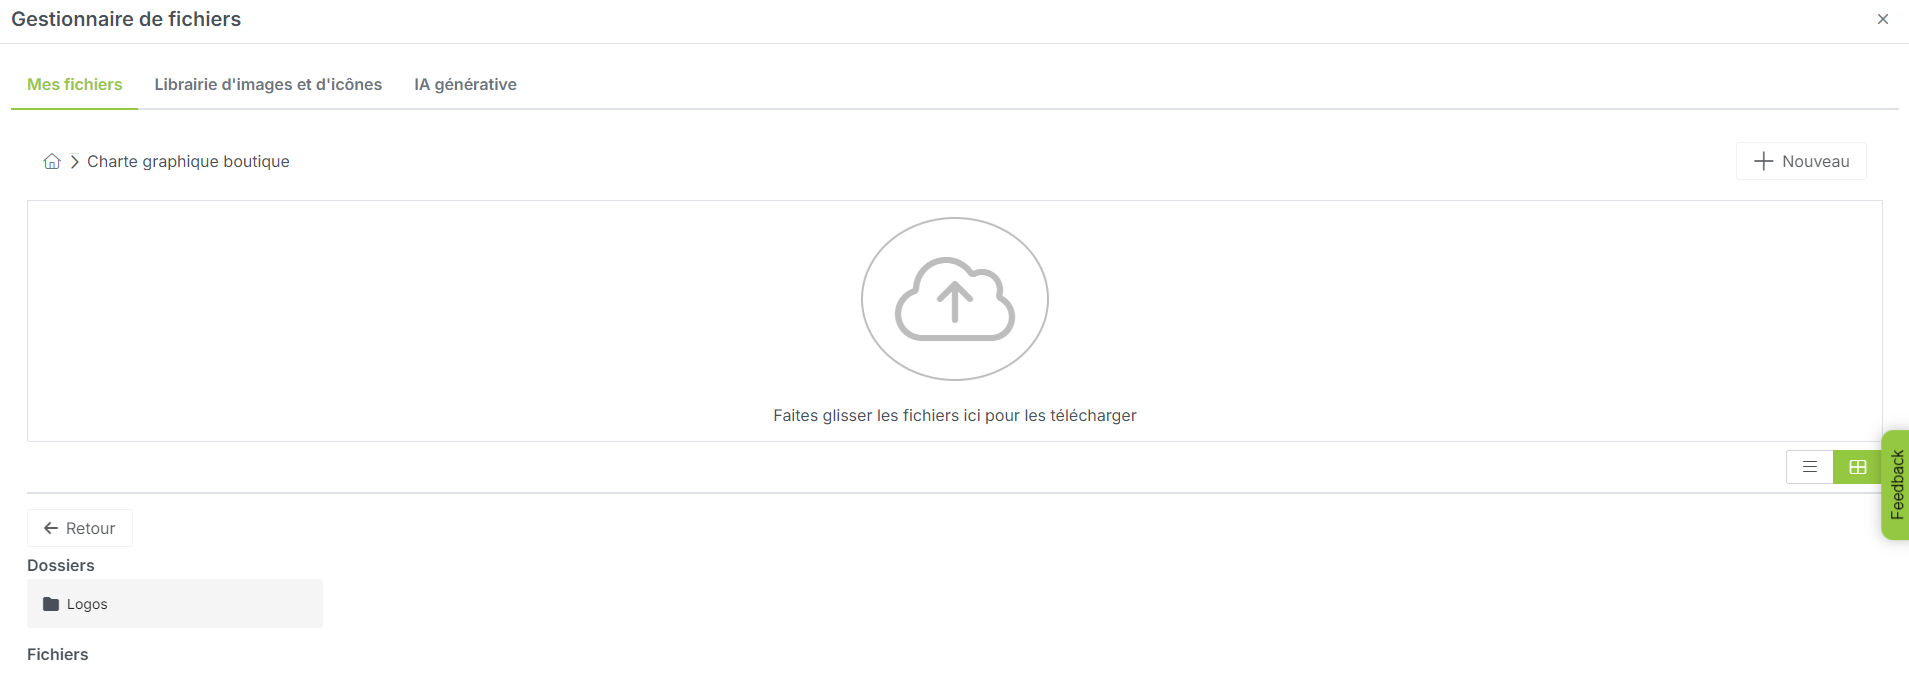
To help you save time accessing & storing your visual elements, we offer you the ability to organize your images into different folders.
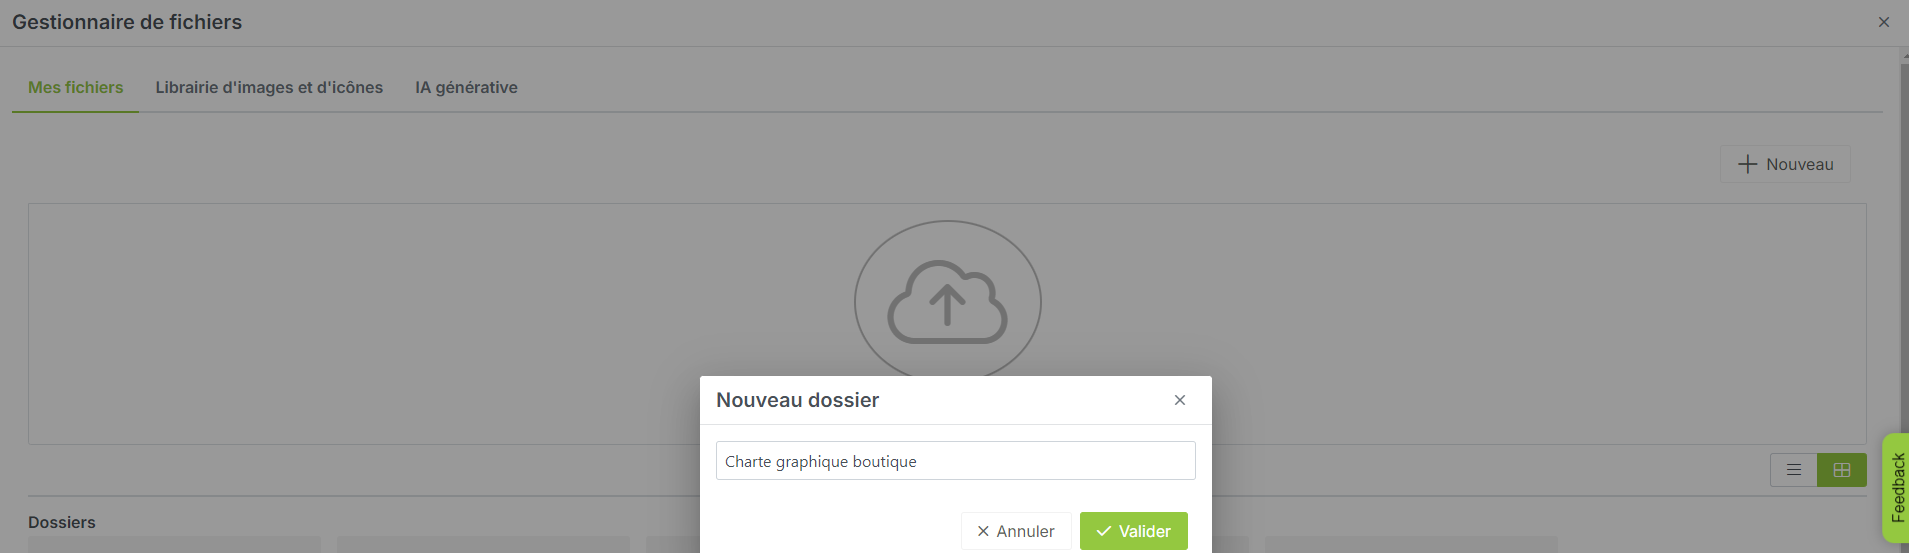
To create a new folder, click on "+ New" on the homepage of the File Manager. Then click on "New folder"
Name your folder, then click the "Validate" button.

Your new folder is added to the list of those you have previously created.
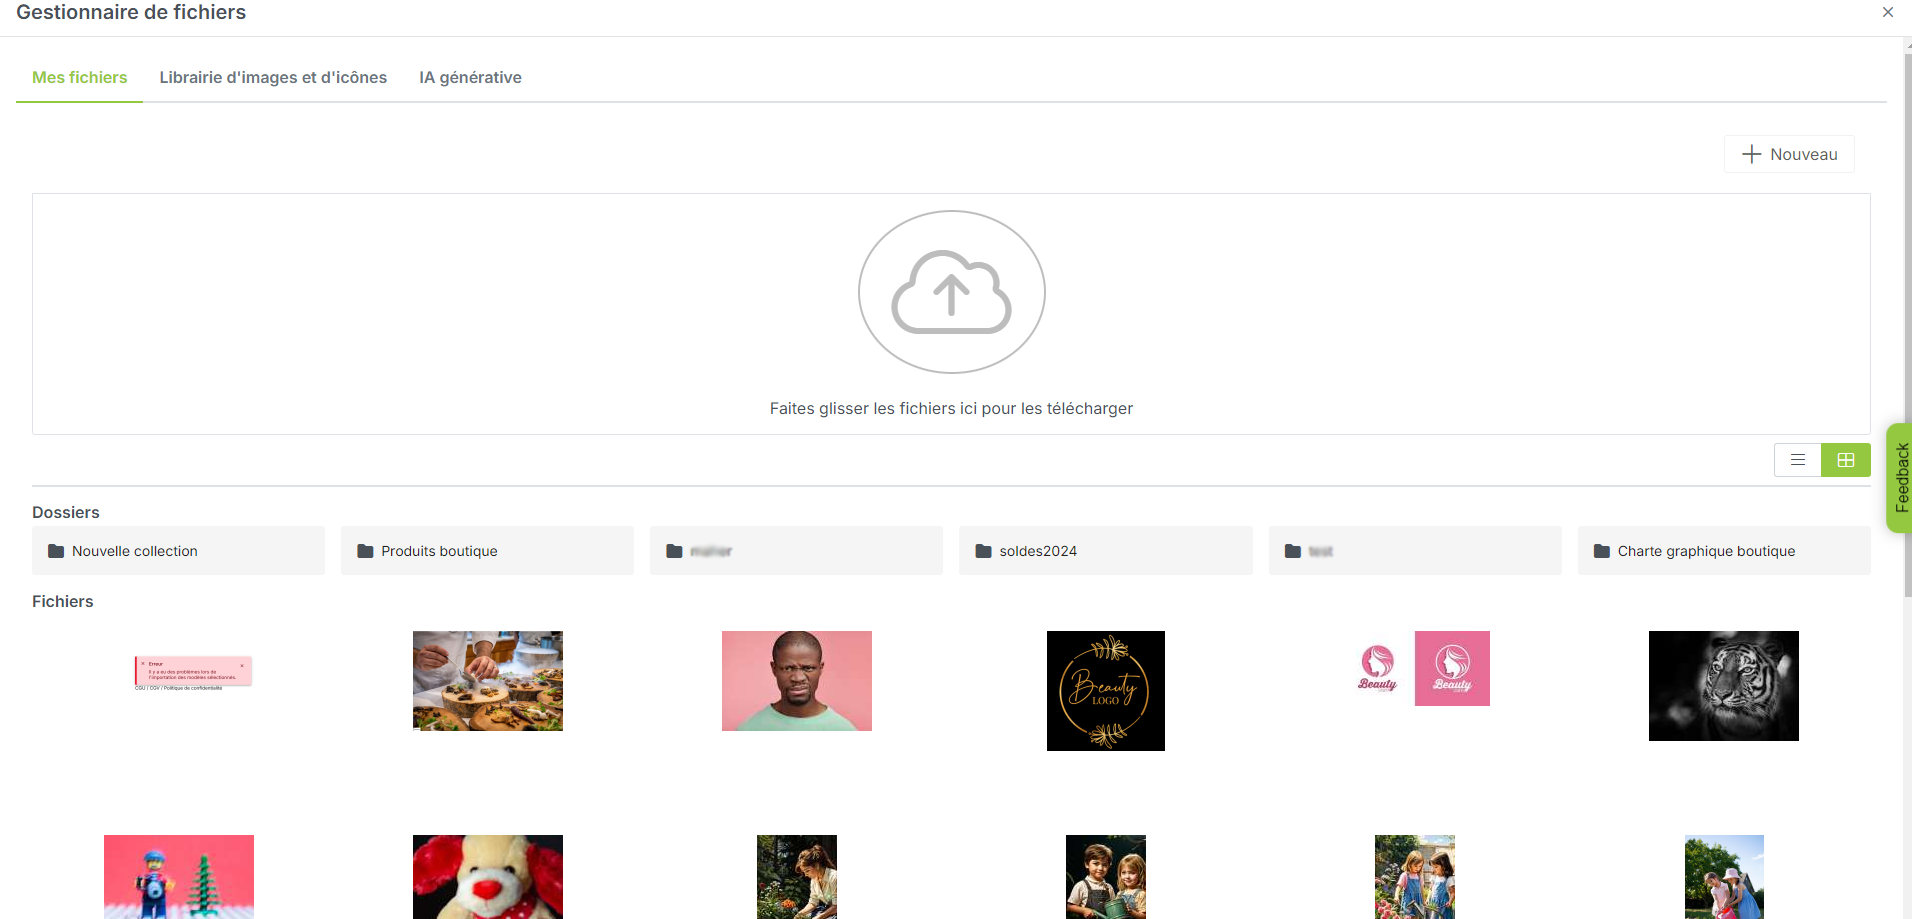
To classify new visuals in this folder, you have several options:
Upload your visuals directly into this new folder (double click to access it)
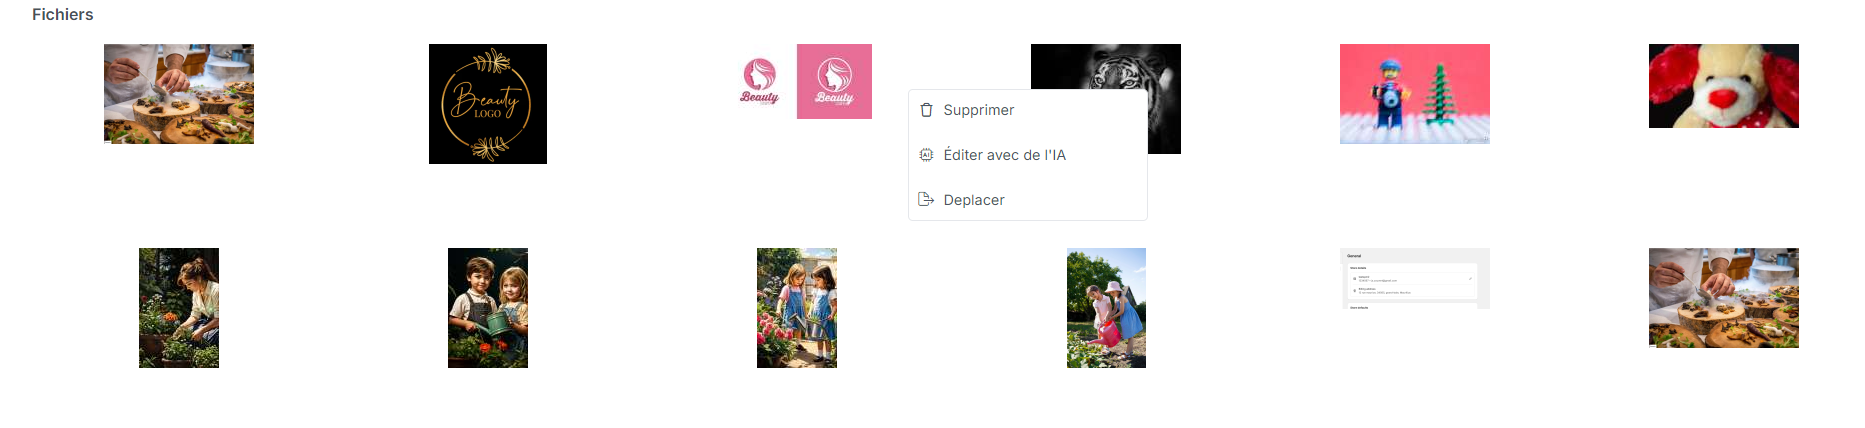
Click on the 3 small dots at the top right of one of the images in your Manager and click on "Move", selecting the destination folder for your image.
You can then organize your folders as you wish, by prioritizing them, renaming them, or deleting them.
Note that you also have the option to create subfolders within your folders.
The procedure is the same as for creating a main folder.
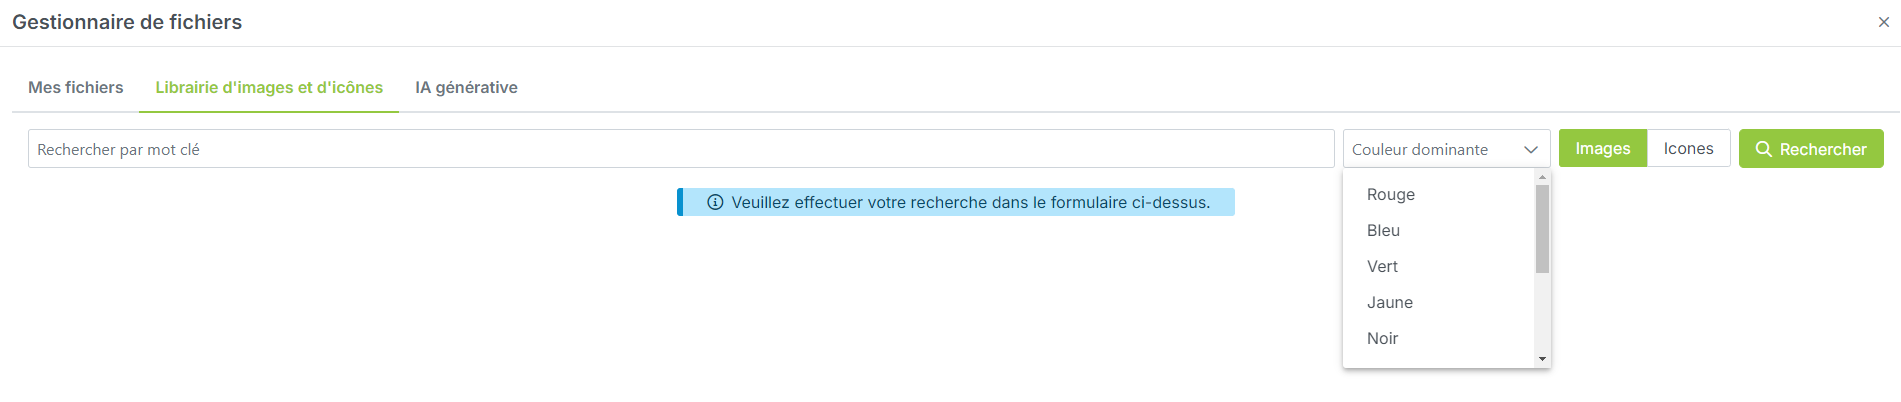
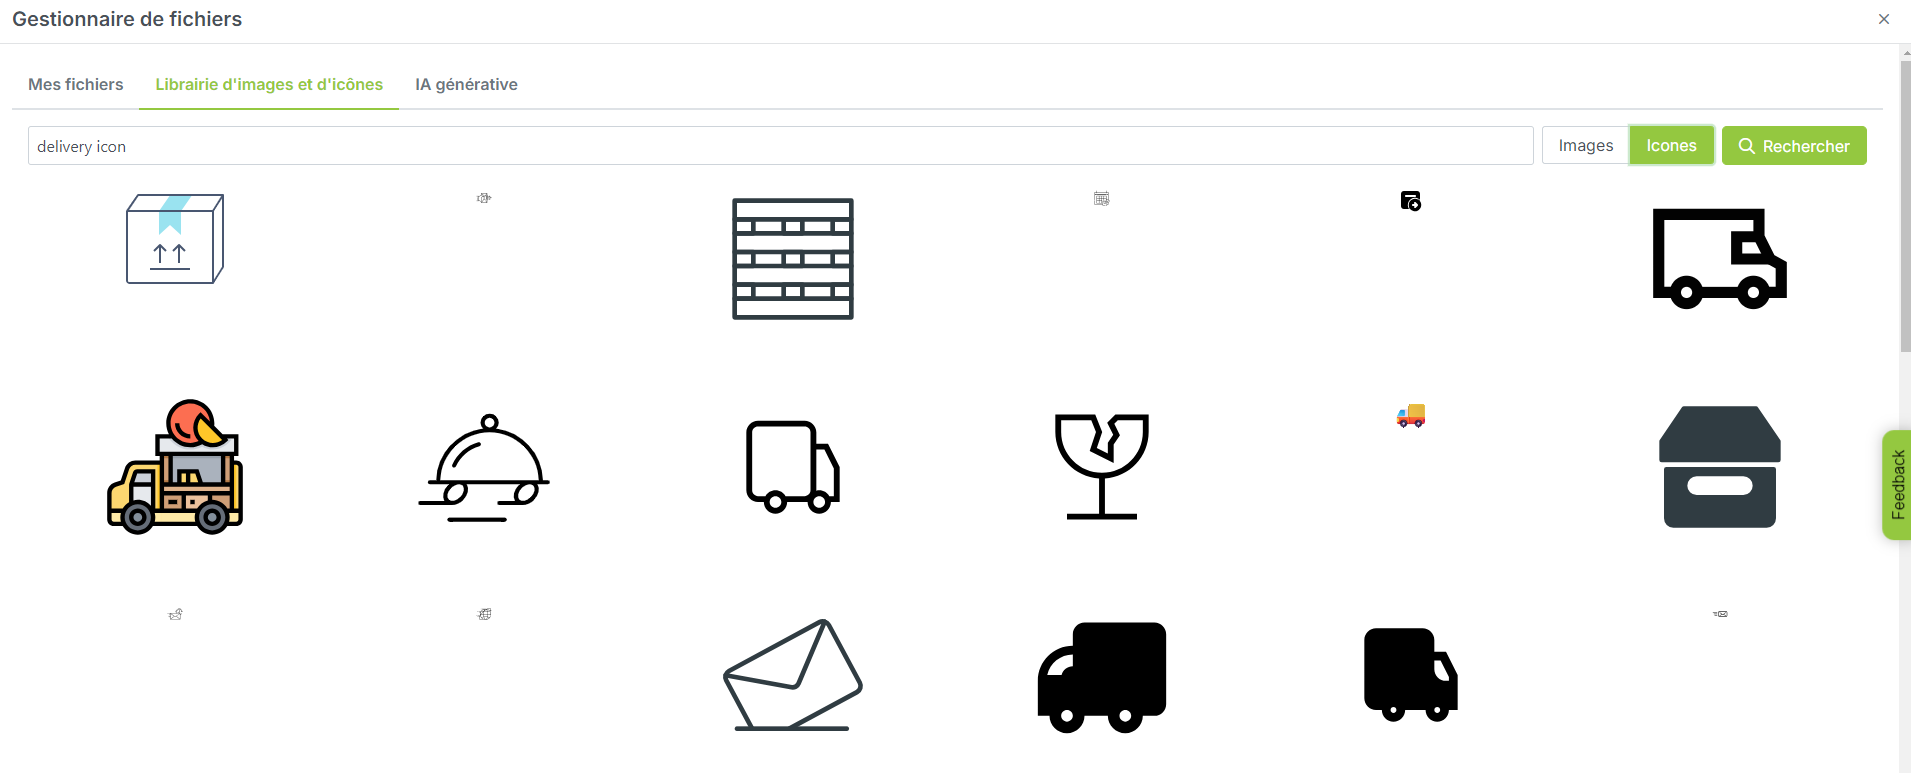
To access the royalty-free image/icon library, click on the corresponding tab.
Simply type your keywords to access a set of completely free & royalty-free images.
Note that you have the option to filter:
by color
by searched element (images or icons)
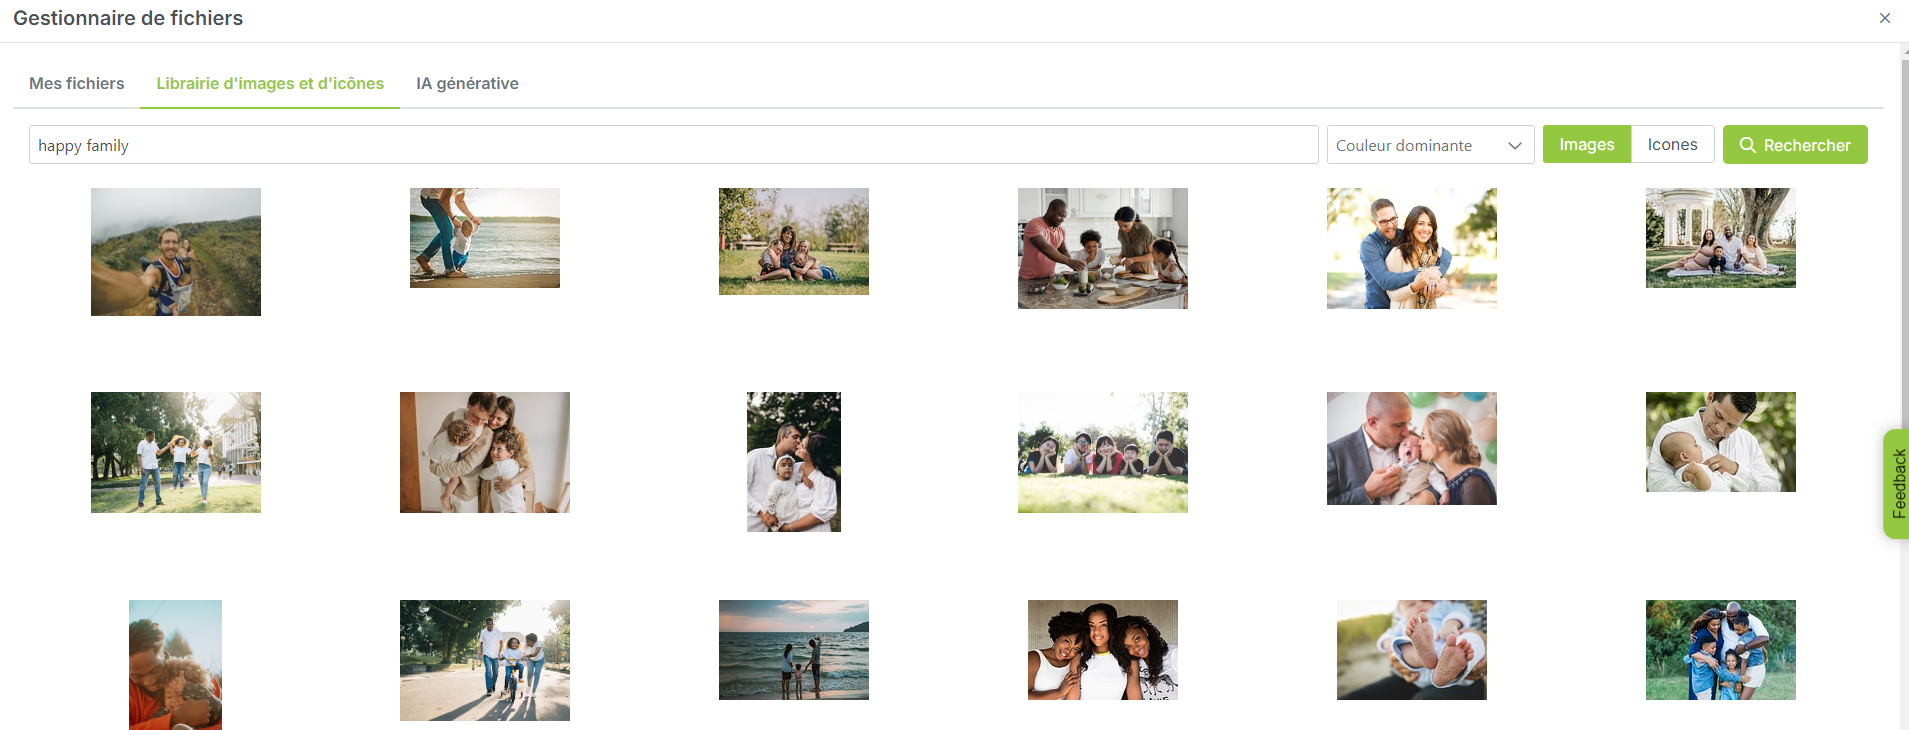
You can then download your royalty-free images & icons, organize them into your different folders, and use them within your message templates.
To download your image/icon, click on the 3 small dots at the top right of your item, then click on the "Move to my file manager" button.
You can finally generate new images directly from our File Manager.
To do this, go to the corresponding tab "Generative AI".
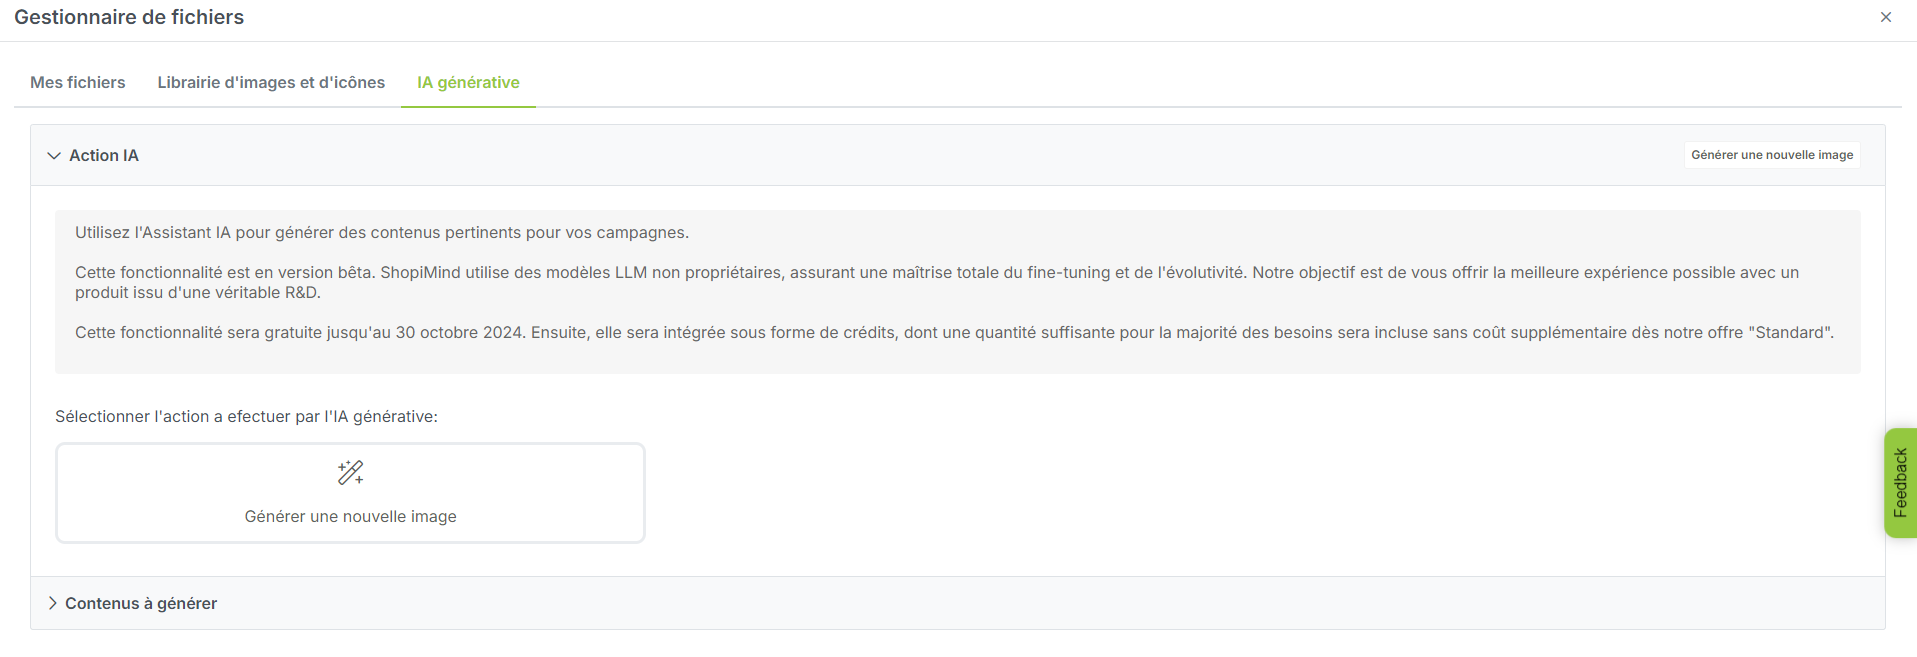
To generate a new image, click on the "Generate a new image" button.
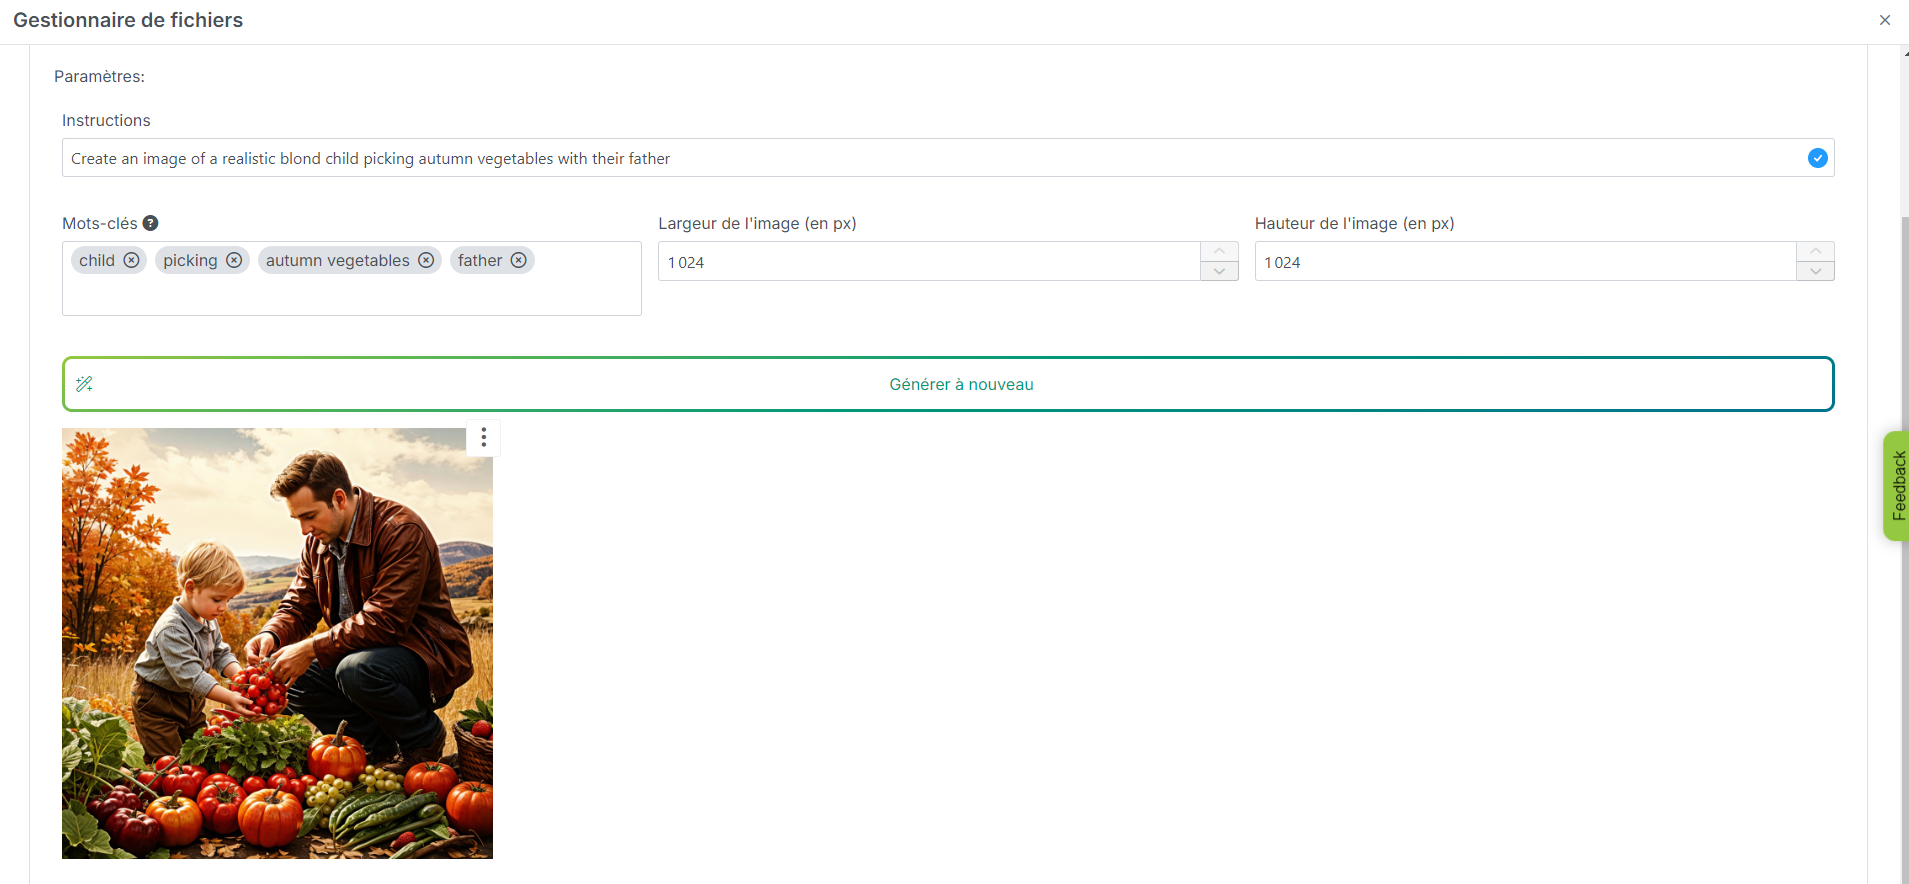
Then enter your instructions (script) and/or add a few keywords to get the most accurate image generation possible.
Note that you can also precisely define the desired image format.
As with images/icons downloaded from the royalty-free library, you can organize your AI images directly within the folders of our File Manager (click on the 3 small dots at the top right of the generated image).
It's your turn!
